Wild Science Kaleidoscope Studio
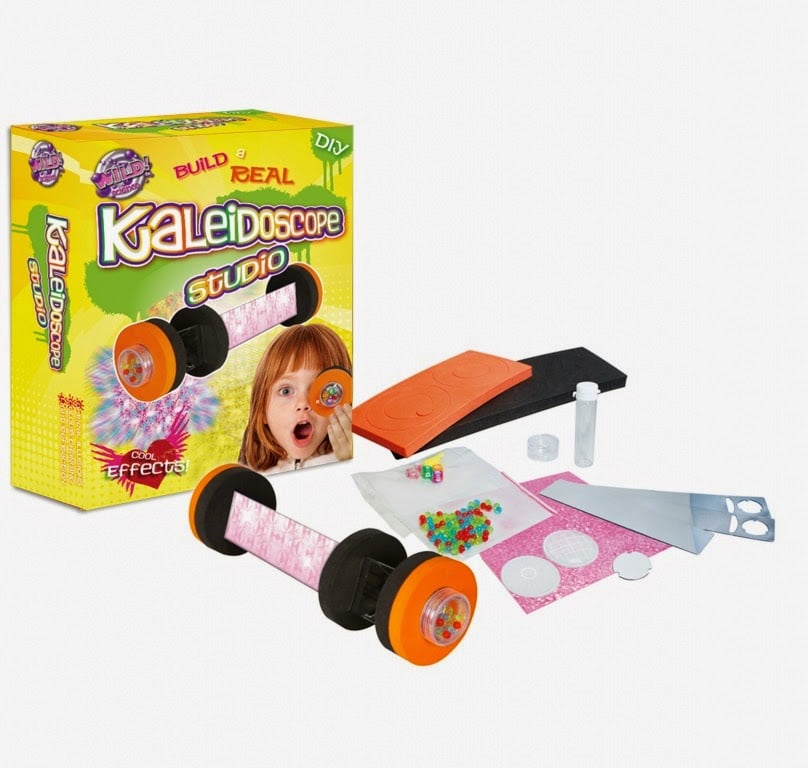
Have you looked through a kaleidoscope lately? It’s beautiful! You can now create your very own kaleidoscope with the Wild Science Kaleidoscope Studio from Interplay. By simply following the the colour illustrated activity guide you can build your own optical wonder!
Peer through the eyepiece and simply twist your creation to discover the colourful patterns.
The Kaleidoscope Studio costs £12.99 and is aimed at children aged 8 years and over. My eldest daughter Chloe who’s 11 had a go at making this last week. The set has some fiddly parts and some small bits also but overall it was nice and straight forward to do.
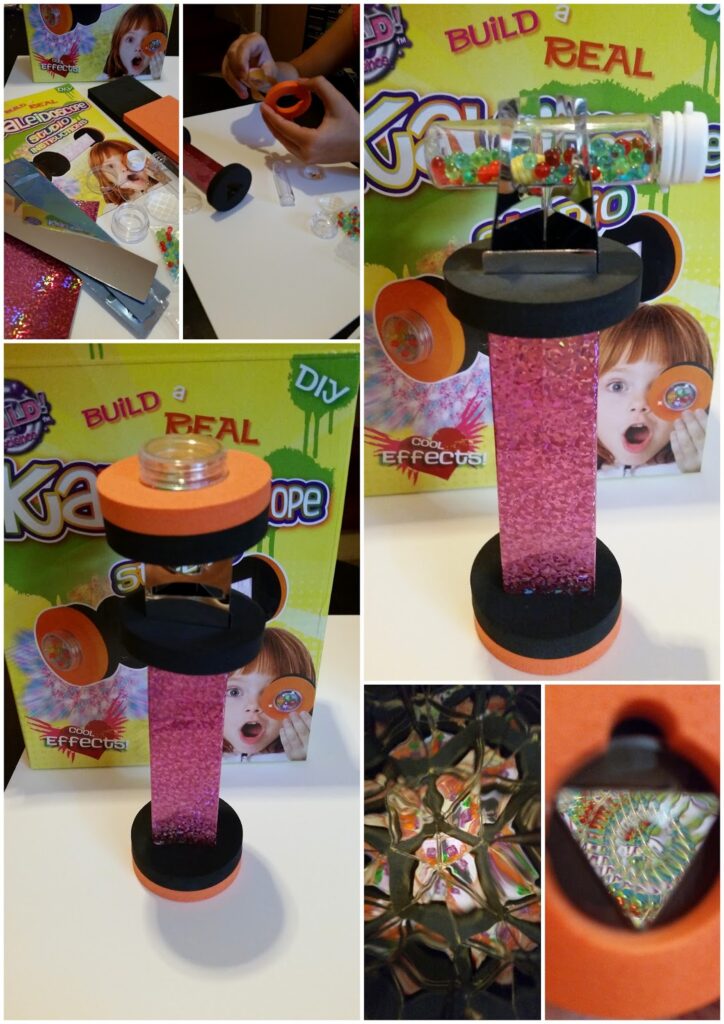
You get everything you will need to make your own Kaleidoscope inside the box. There’s two different eye pieces you can look through which create different effects and there’s also two different bead containers to create even more crazy colour combinations.
Chloe enjoyed making her Kaleidoscope but loves playing with it even more now that it’s finished. She never knew she could make her own is so proud that she did. It’s sets like these that make learning Science fun. It teaches them some tips and tricks for getting the most out of the things they learn in class. You’re never too old to play with a Kaleidoscope. Chloe has been trying out different colour combinations and all sorts. I took picture of the two different bead pots that came with the set so you could see the outcomes.
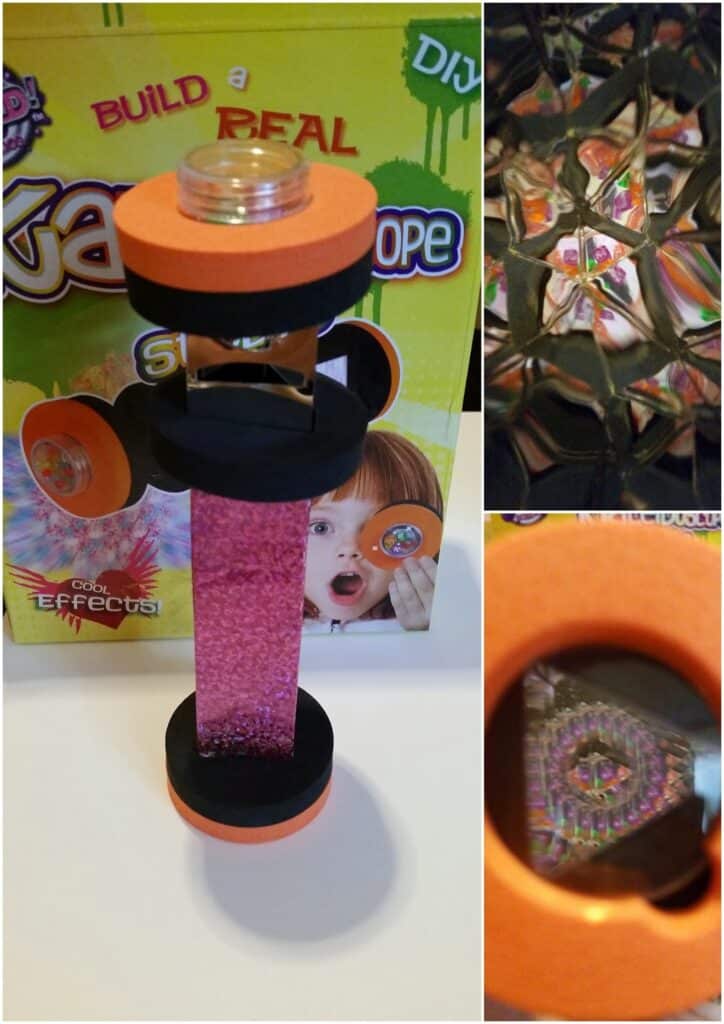
This one used the small round pot of small beads placed directly at the end of the tube. It produced lots of colourful patterns but it was hard to capture them all for you.
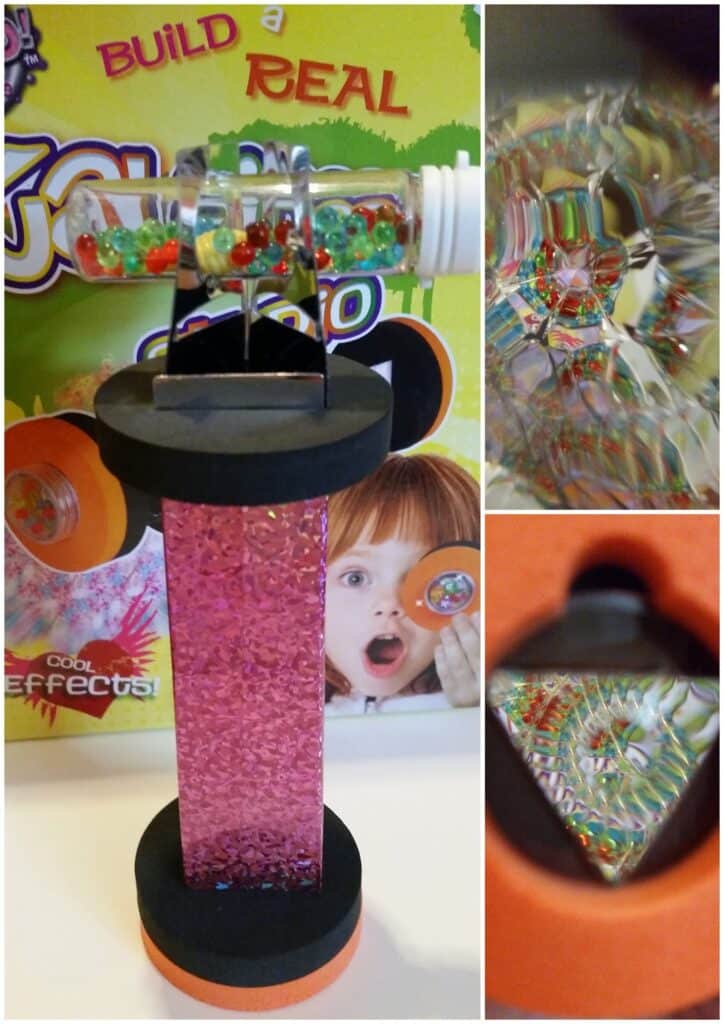
This one used the longer pot of beads mixed with some bigger charm items. Instead of going at the top of the tube it went across. It produced slightly different patterns to the other ones but they were just as pretty. Who knew it could be so much fun.
The ends were easy to change so you could go back and forth between the two different ends depending on which bead pot you wanted to look through. Chloe had lots of fun playing with and will continue to do so for a while to come too.
Chloe and I scored this set a fun filled 3/5. It was easy to make and fun to play with.
The Kaleidoscope Studio is just one set out of a whole range of other weird and wonderful Wild Science kits. There’s lots of other fun stuff to choose from.
Disclosure: We were sent our Kaleidoscope Studio kit for free for the purpose of this review but that doesn’t affect our review. All the opinions expressed are 100% my own.